Step by step
- 1
Open Branding settings
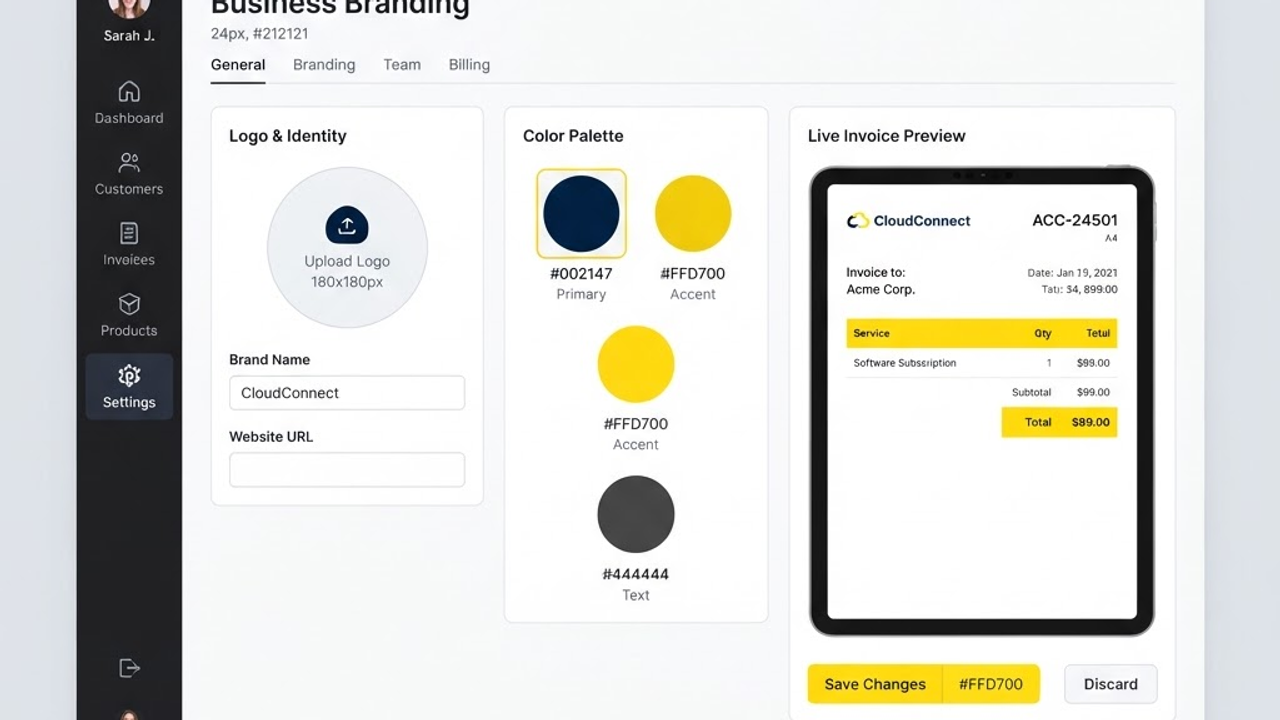
Head to Settings and select Branding. This controls how your business appears on everything clients receive.
- 2
Upload your logo
Add a high-resolution logo (PNG with a transparent background works best). You'll see a live preview of how it appears on your documents.
- 3
Set your brand colours
Choose your primary and accent colours using the colour pickers. These are applied to headings, buttons and highlights on quotes, invoices and emails.
- 4
Add your business details
Confirm your business name, contact details, address and any licence or registration numbers. These appear in document headers and footers.
- 5
Preview and save
Use the live preview to check a sample quote and invoice, then save. Your branding is now applied everywhere automatically.
What you'll achieve
- Your logo on every quote and invoice
- Brand colours applied across client documents
- A polished, professional impression at every touchpoint
Pro tips
- Use a transparent PNG logo so it looks clean on both light and dark backgrounds.
- Keep to two brand colours for a clean, professional look.
- Double-check your licence and ABN/registration details - clients notice the detail.