Step by step
- 1
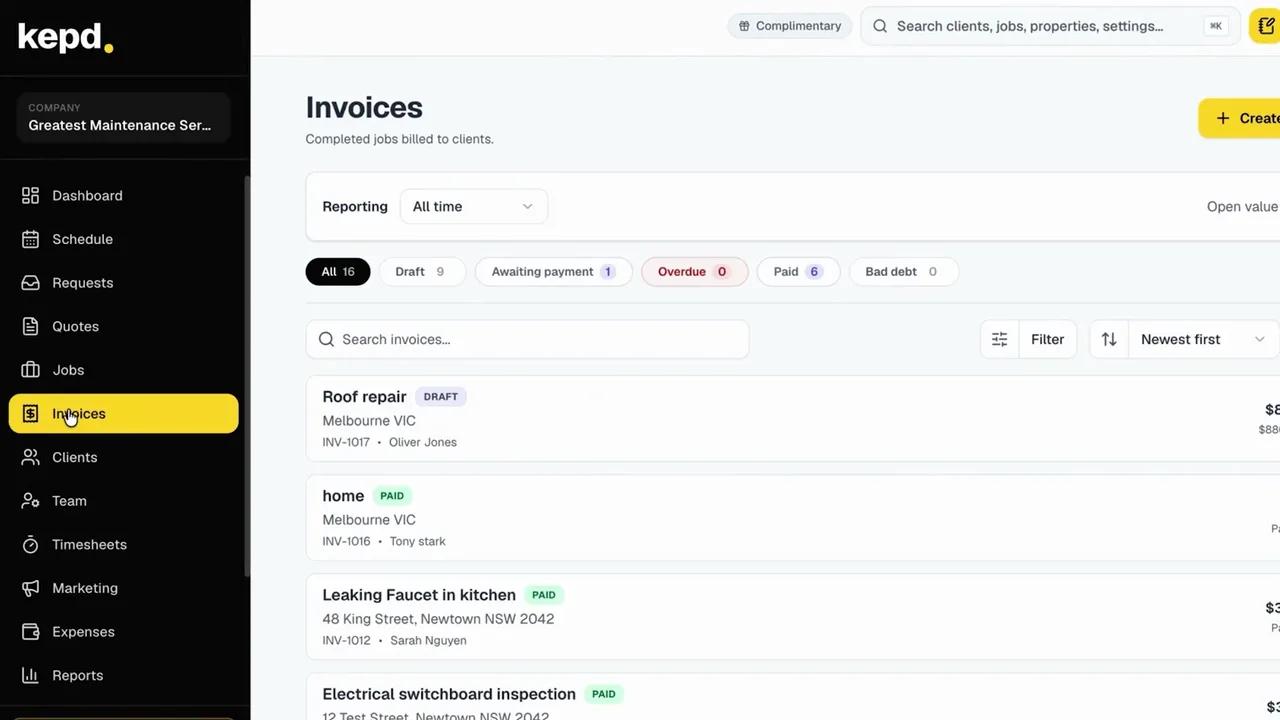
Open Jobs
From your dashboard, click Jobs in the left-hand menu.
- 2
Import a work order
If a customer has sent a work order, click Import from document. Just drop the PDF or image in and kepd fills in the job fields for you to review.
- 3
Or create a job from scratch
Click the yellow Create New Job button. Pick a date, set the start and end times and assign it directly to a crew member.
- 4
Link the client and site
Search for your client to link their profile, confirm the site address and add the site contact and mobile. Choose the access type, such as keys with agent, lockbox or building manager.
- 5
Fill in the work and create the job
Add a title, description and category, and attach photos or a PDF of the client's request. When everything looks good, click Create job - it's placed on the schedule and on your technician's timeline straight away.
- 6
Manage the job workspace
The job workspace is where you manage the scope of works, schedule, line items and billing, time and costs, safety, and photos and files.
- 7
Adjust it from the schedule
Head to Schedule to see your team's workload by day, week or month, hour by hour. Click a calendar block and a panel slides out on the right for quick adjustments, or open the job to get back to the full details.
- 8
Complete and convert to invoice
Once the work is done, click Complete at the bottom right of the job screen, then click Convert to invoice and start getting paid.
What you'll achieve
- A job created and assigned to a crew member
- Site, access and scope details your crew can rely on
- Completed work converted straight into an invoice
Pro tips
- Import work orders from property managers rather than retyping them.
- Add access details every time - your crew sees them on the job.
- Use the week view to spot gaps and overloaded technicians before the week starts.